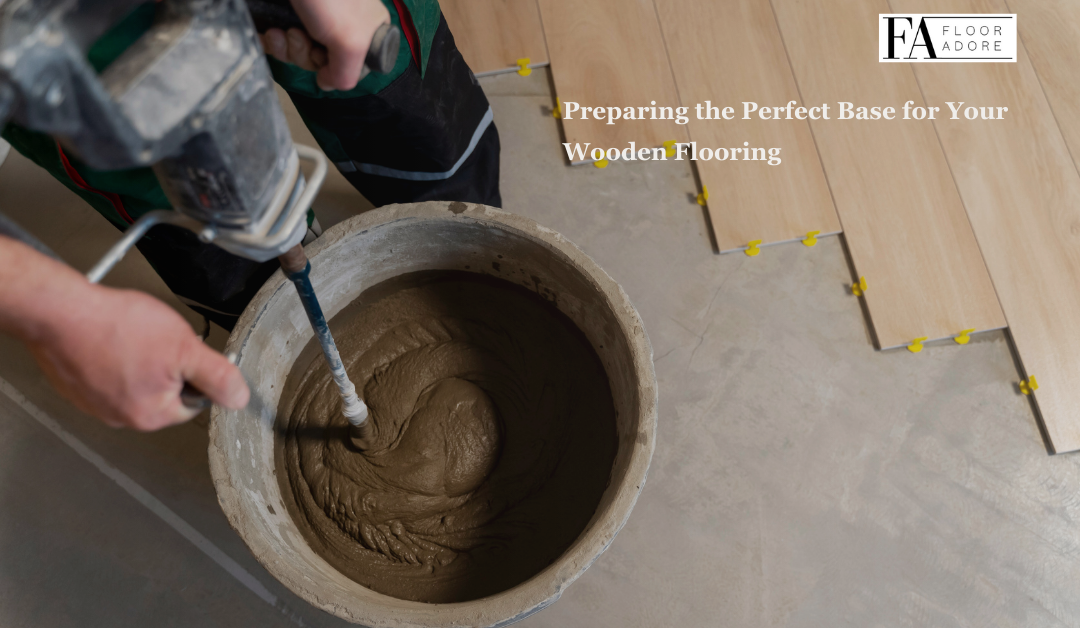
When it comes to installing wooden flooring, many homeowners focus solely on the beauty and durability of the planks themselves. However, there’s another crucial element to consider: the subfloor. Your subfloor is the foundation upon which your wooden flooring rests, and its condition can make or break the success of your installation. In this blog post, we’ll share some subfloor secrets to help you prepare the perfect base for your wooden flooring.
Why Subfloor Preparation Matters
Before we dive into the specifics of subfloor preparation, let’s take a moment to understand why it matters. Your subfloor plays several important roles in the performance and longevity of your wooden flooring:
- Stability: A stable, level subfloor provides a solid foundation for your wooden planks, preventing shifting, bouncing, or unevenness that can lead to damage over time.
- Moisture protection: A properly prepared subfloor helps to protect your wooden flooring from moisture damage, which can cause warping, cupping, or buckling.
- Sound reduction: A smooth, even subfloor helps to minimize squeaks, creaks, and other noises that can detract from the peaceful ambiance of your home.
Assessing Your Subfloor
The first step in preparing your subfloor for wooden flooring is to assess its current condition. There are two main types of subfloors: concrete and wood. Each type has its unique characteristics and requirements for preparation.
Concrete Subfloors
If you have a concrete subfloor, you’ll need to check for the following:
- Moisture: Concrete is porous and can absorb moisture from the ground, which can then transfer to your wooden flooring. Use a moisture meter to check the moisture content of your concrete subfloor, and if necessary, install a moisture barrier before laying your wood.
- Levelness: Concrete subfloors should be level to within 3/16 inch per 10 feet. If your subfloor is uneven, you may need to use a self-leveling compound to create a flat, even surface.
- Cracks and holes: Fill any cracks, holes, or divots in your concrete subfloor with a patching compound to create a smooth, seamless surface.
Wood Subfloors
If you have a wood subfloor, you’ll need to check for the following:
- Moisture: Like concrete, wood subfloors can absorb moisture from the environment, leading to warping or damage. Use a moisture meter to check the moisture content of your wood subfloor, and address any sources of excess moisture before installing your wood.
- Stability: Wood subfloors should be sturdy and free from bounce or movement. Check for loose or squeaky boards and secure them with screws if necessary.
- Levelness: Wood subfloors should be level to within 3/16 inch per 10 feet. If your subfloor is uneven, you may need to sand high spots or use shims to create a level surface.
Preparing Your Subfloor
Once you’ve assessed your subfloor and addressed any issues, it’s time to prepare it for your wooden flooring installation. Here are the key steps to follow:
- Clean: Thoroughly clean your subfloor to remove any dirt, debris, or residue that could interfere with the installation process.
- Repair: Fill any cracks, holes, or divots in your subfloor with a patching compound, and sand any high spots to create a level surface.
- Moisture barrier: If necessary, install a moisture barrier over your subfloor to protect your wood from moisture damage.
- Underlayment: Install a high-quality underlayment over your subfloor to provide additional stability, moisture protection, and sound reduction.
Conclusion
Preparing your subfloor may not be the most glamorous part of installing wooden flooring, but it’s certainly one of the most important. By taking the time to assess your subfloor, address any issues, and properly prepare it for installation, you can help ensure that your beautiful new wooden flooring looks and performs its best for years to come. Remember, a little extra effort upfront can save you a lot of headaches down the road, so don’t skimp on subfloor preparation. Your wooden flooring (and your peace of mind) will thank you.


